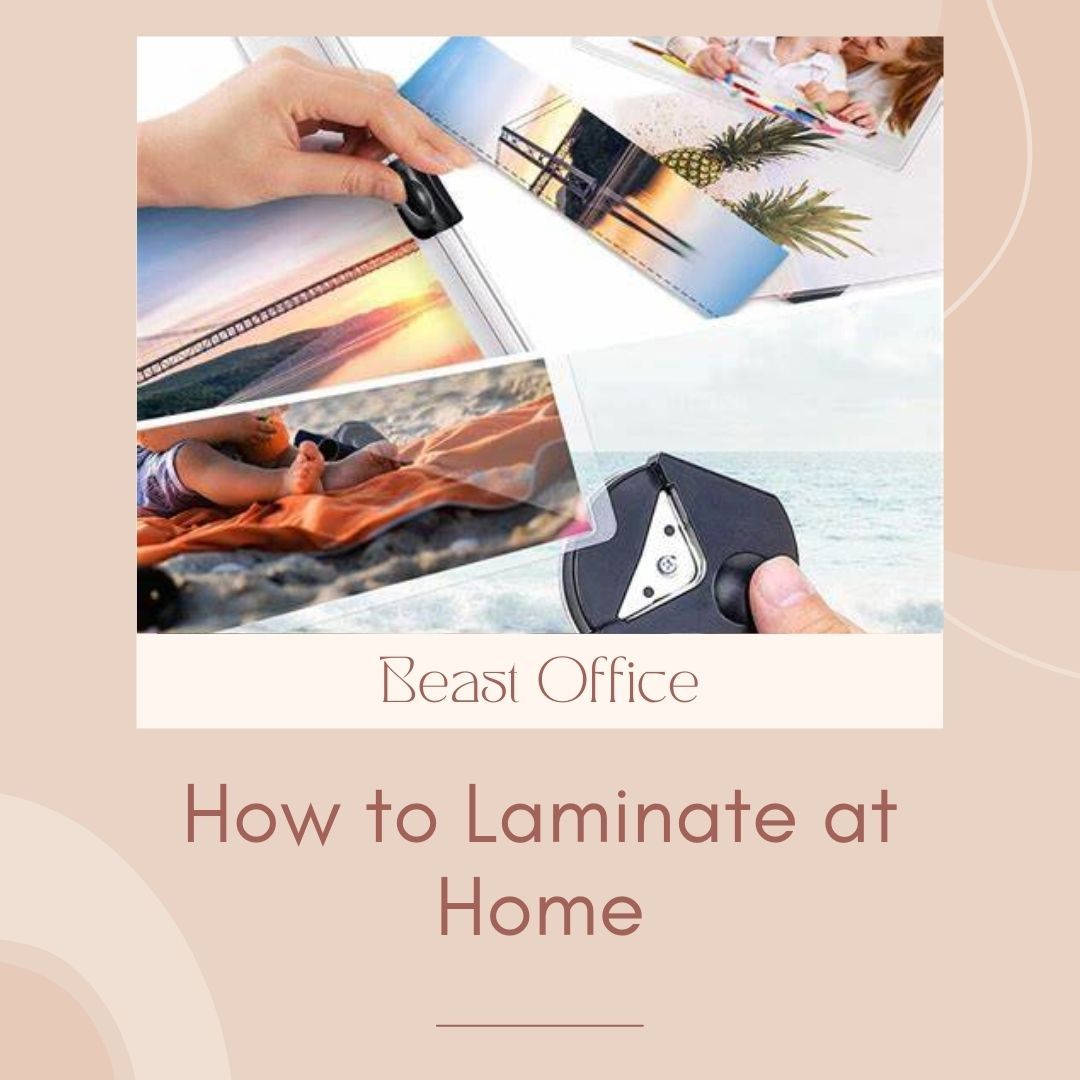
The process of laminating is simple enough to do at home, whether you have a large batch of documents or just one or two that need protecting.
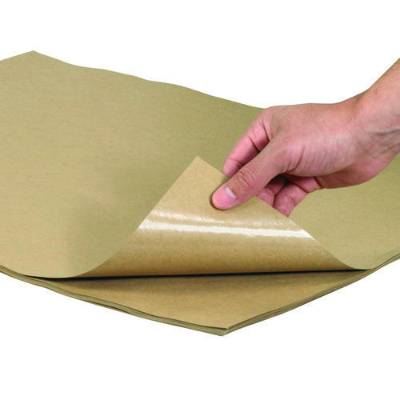
Lamination is permanently affixing a clear plastic sheet to a document. The plastic sheet allows you to write on top of it but protects the paper underneath from damage and moisture. You can laminate a paper at home with basic supplies or at a professional shop.
Things you Need
You'll need
- your document or photo,
- a sheet of clear plastic
- iron
- A cutting mat. This will help keep your blades sharp while cutting the laminated
- sheets into smaller pieces.
- a heat gun or hair dryer
- A laminator, pouches
- laminating sheets
- Adhesive roller or sprayer
- Scissors or utility knife
- Protective gloves
that's all you need to laminate at home.
Step-by-step Guide to Laminate a Paper
Laminating paper at home is a great way to save money and ensure you get the perfect color for your project. Here's how to laminate at home:
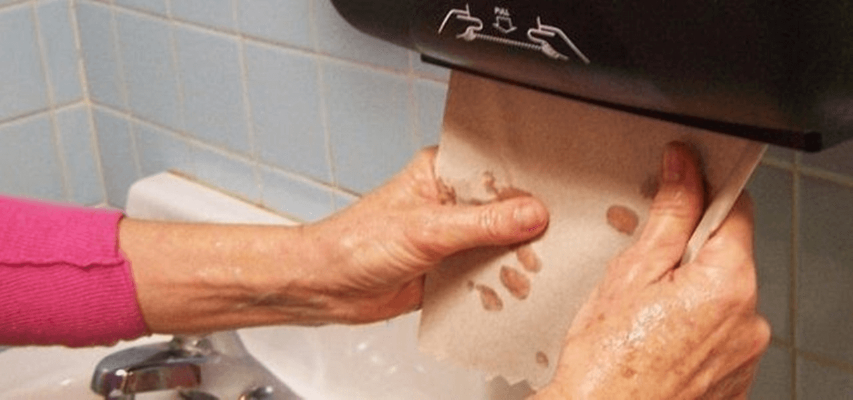
Step 1: Wash and dry your hands thoroughly before beginning work. This will help prevent fingerprints from getting on your finished product.
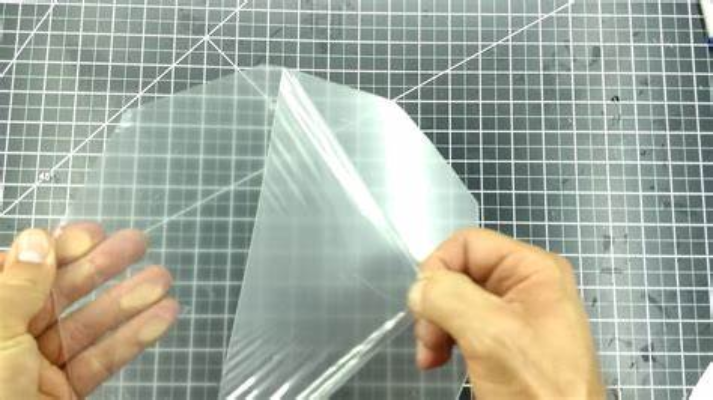
Step 2: Remove the protective backing from each side of the laminating film, exposing the adhesive surface.
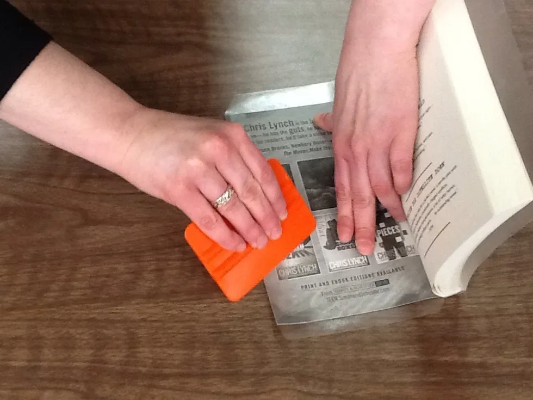
Step 3: Smooth any wrinkles while laminating paper in the film by rubbing them with your hands. This will help it adhere better to your project. It also makes for a more professional result when using decorative papers with an obvious pattern on one side, like stripes or polka dots.
Step 4: Place your project face on a clean, flat surface (ideally, use a cutting mat). Positioning the mat board over a hard surface will help keep it balanced while you're laminating it and ensure there aren't any wrinkles in the film or bubbles trapped underneath it when you're done with this step.
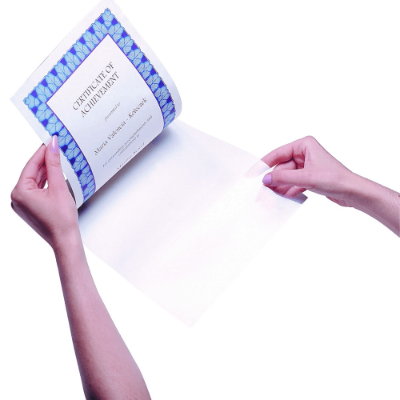
Step 5: Peel off the release paper from one side of your laminated sheet (the side without adhesive). Align this side over one edge of your mat board so that it covers about half of this edge (it should be slightly smaller than the edge).
Step 6: Lower the mat board, pressing down firmly on both sides of the sheet to ensure a good bond.
Step 7: Remove any excess laminate from around the edges with a box cutter or utility knife. You can also use an X-Acto knife for this task.
Step 8: Trim away any excess laminate with a blade or scissors, leaving at least 1/4" (6 mm) extra around each edge.
Step 9: Cut out your window shape using a craft knife, utility knife, and ruler. If you're using an opaque window material like vinyl or acetate, use your ruler to mark out horizontal lines every 1/2" (12 mm) along one side of your window opening; then repeat on the other side so that all four sides are marked. Use these lines as guides when cutting out your window shape using scissors or an X-Acto knife; don't worry if they're not perfectly straight—your final product won't be seen from the outside.
Step 10: Apply two contact adhesive layers to the area where you plan to place your window cutout. Make sure your surface is clean and dry before applying the adhesive.
Step 11: Press your window cutout into place, ensuring no bubbles between it and the lamination sheet beneath it. If there are any gaps between your new window and the lamination sheet, remove both pieces of paper and reapply them with more contact adhesive before pressing them back down again.
Step 12: If you have any excess material around each corner of the frame, use your scissors to trim it off.
Step 13: Now that the lamination process is complete, you can use your cutting to
Step 14: Apply heat to each vinyl side for about 15 seconds. This helps activate the adhesive backing on the vinyl and allows it to stick more strongly to your project.
Step 15: Peel off one side of the transfer tape and press it onto your project. Press down firmly for at least 10 seconds.
Step 16: Use the painter's tape to cover the area where the laminate will be applied. This prevents the adhesive from getting on areas that don't need to be covered.
Step 17: Apply an even layer of adhesive to one side of your laminate using a paint roller or brush.
Step 18: Laminate your document by sliding it into the laminator pouch and pressing the start button.
Step 19: Remove your document from the pouch when it's done.
Types Of Laminations
Lamination uses heat to fuse two sheets of paper. This can create a stiffer or more durable sheet than normal paper. The most common types of lamination are:
Polyester: This is the most common type of lamination because it's inexpensive and works well with many projects (like name tags). It also has the benefit of being able to be written on with permanent markers after it's laminated.
Polypropylene: This type of lamination is similar to polyester, but it's more expensive and doesn't allow you to write on the laminated surface after it has been fused. You may want to use this option if you're creating very thick pieces that need extra durability without the need for writing on them after they're laminated together.
Pressure Sensitive
The most common lamination type is "pressure sensitive" lamination, which uses a clear, adhesive-backed film to attach two pieces of paper. The film provides extra protection against moisture and scuffs and is easy to remove when you want to dispose of it or replace it with another print.
FAQs
What can I use instead of laminating?
Laminating is a great way to protect your work from wear and tear. For example, if you have an important document or report that you want to keep for a long time, then lamination can be a great way to store it.
What can I use instead of laminating?
Instead of laminating, consider printing on thicker paper or cardstock. This will give you a similar look and feel to the laminated product. If you want to display your games on a wall or a bulletin board, consider using plastic pockets or display folders instead.
You can also use a clipboard as a dry-erase board by covering it in clear contact paper. This allows you to write on the clipboard without damaging it and erase it later if necessary.
If you only need one or two copies of something, consider printing on paper-only versions and displaying them on your walls.
How can I get a smooth, shiny finish?
To get a smooth, shiny finish and ensure no air bubbles are trapped between the document and its covering, use a heat gun or iron set on low heat. If you have an ironing board or other flat surface that can withstand heat, place your document on it with the side you want facing up. Run your hand over the surface several times, flip it over, and do it again. Be careful not to fry your document!
What is the cheapest way to laminate?
Laminating is an innovative and effective way to protect documents, pictures, photos, and other things. It can also be used for making cards, invitations, posters, and many more.
You can also laminate fabric, making it water-resistant and durable. This is a great way to protect your clothes from dirt and dust by covering them with plastic film. The fabric can be laminated using heat and pressure.
If you want to know how to laminate at home cheaply, this article will help you!
Related Articles