
We also wanted to determine whether reupholstering was an easy DIY project or something that should be left to the professionals. If this sounds like something you enjoy doing, read onward to learn how to reupholster a wingback chair without killing yourself or spending a fortune out of pocket.
How to Reupholster a Wingback Chair? - Tips & Tricks
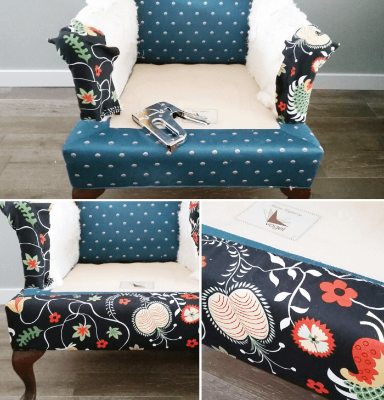
Wingback chairs are an elegant addition to any home or office. They can be used as an accent piece or as a focal point in a room. The beauty of these chairs lies in their ability to provide comfort and style. However, if you have been looking for an opportunity to redecorate your home or office, then it is time to reupholster your chair.
Reupholstering your wingback chair is not difficult and can be done in less than a day if you have the right tools.
Wingback chairs are also known as club chairs, and they usually have a high back and arms that extend over the sides of the chair. Wingback chairs are usually made from wood or fabric and are often found in living rooms or bedrooms.
Which Tools Are Needed For Reupholster a Wingback Chair?
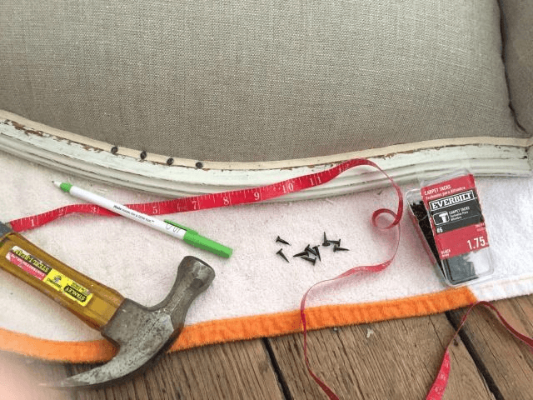
- Hammer or mallet
- Screwdriver
- Chalk
- Pliers
- Rag or old towel
- Furniture clips (optional)
- Plywood squares (optional)
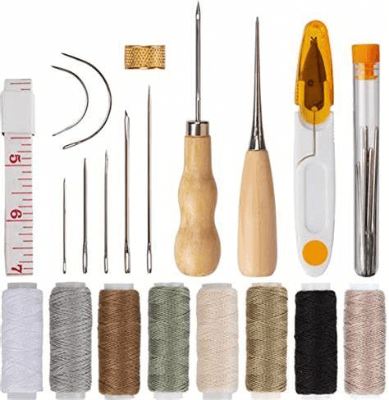
You’ll Need:
- Sewing machine (or serger)
- Sewing supplies: thread, scissors, pins, seam ripper, marking tool
- Fabric for upholstery (choose from our recommendations below)
- Upholstery tacks or staples (sold separately)
With Sewing Machine, you will need
- Needle and Thread
- Measuring Tape or Ruler
- Tacks, Staples, or Nails
- Wood Glue (Optional)
- Sandpaper (Optional)
Reupholstering a wingback chair can be a great way to update the look of your living room without spending a lot of money. The process is relatively simple and requires the right supplies, time, and patience.
Foremost You Need Is A - Sewing Machine
You first need a sewing machine with an upholstery stitch setting. If you don’t already have one, it will cost around $200 or more, depending on the brand and features you want (there are many different types).
You can buy one used if you want to save money, but make sure it makes it after 1980 because older ones might not work well for this kind of job.
Heavy-Duty Needle
Next, you’ll need a heavy-duty needle for your machine. The lighter ones might break if you sew through multiple layers of foam at once (which we will be doing). It’s better to have too big of a needle than too small!
Foam Padding Material
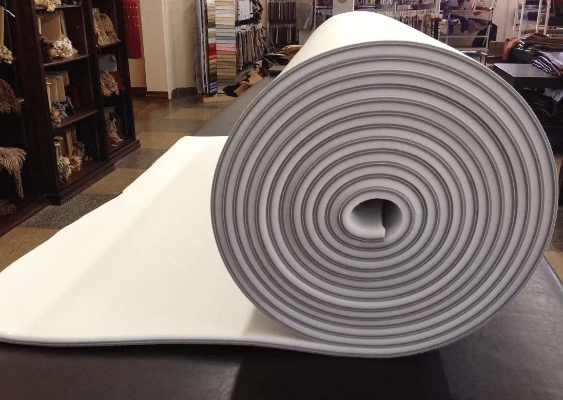
Finally, you’ll need foam padding material. This can be purchased from any home improvement store or fabric store and comes in thin sheets which are easy to cut into shapes using scissors or knives.
You should buy enough material for each seat cover so that when it’s time to sew everything together, you can just lay them out next to each other on top and cut out all the pieces at once.
How To Reupholster a Wingback Chair In Easy Steps?
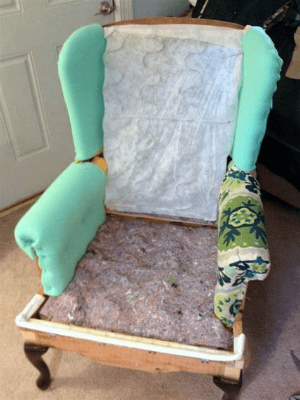
Remove the Old Fabric
Start by removing the old fabric from your chair. You'll want to do this with as little damage to the frame as possible,
so use care when removing staples or nails holding it in place. If you have trouble getting them out, use needle-nose pliers or a flathead screwdriver and hammer.
Remove Staples With Electric Gun
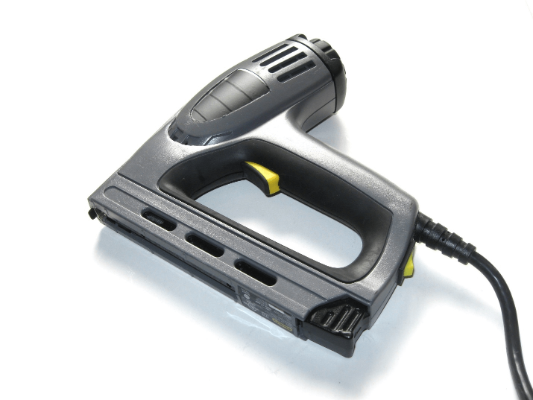
Next, remove any remaining staples with an electric staple gun (if they haven't been removed already). If you don't have one, use a pair of pliers to pull them out of the wood gently.
Remove Any Fabric From The Armrests And Back Of The Chair
Remove any fabric from the armrests and back of the chair by cutting it away with sharp scissors or an electric knife (if you have one). If necessary, use pliers to remove any staples holding fabric onto wood or metal parts of the chair frame.
Install New Padding And Seat Cushions
Measure your chair's frame dimensions and purchase foam padding slightly larger than those (you want it to fit snugly). Cut out pieces of foam using an electric knife if possible; otherwise, use sharp scissors or an Exacto knife (be careful not to cut yourself!). Wrap each piece of foam in a layer of fabric and staple it on the underside of your chair's seat. Then place the foam over the top of your chair's frame, ensuring it fits snugly before securing it with staples.
How To Install New Upholstery Fabric On The Seat?
- Take apart each piece of upholstery fabric that needs replacing (if any).
- Use a seam ripper to remove stitches holding old upholstery onto the frame.
- Attach new upholstery to the frame by sewing along the edges or using clips (available at home improvement stores).
- Attach new padding to the frame by tucking it into the existing or sewing along the edges.
- Use adhesive spray or glue to attach new padding if you have no existing padding.
How To Attach The Seat Cushion To The Chair Frame?
Place the seat cushion inside the chair frame and use a staple gun to attach it. Repeat for each cushion on the chair.
How To Staple Seat Cushion To The Chair Frame?
- Staple just outside each seamline of your fabric pattern, one row at a time. This will help keep your fabric taut and smooth on the seat cushion until you finish stapling it together.
- To staple over a seamline, place your stapler at the middle point of that seamline on one side of the chair seat cushion.
- Place your finger on the trigger and pull it toward yourself until it clicks into place. Then pull down on the handle while keeping pressure against the top of the crown with your other hand, which will cause it to open up enough to insert your staple through both pieces of fabric at once.
- Push hard enough to insert about half of it into each piece of fabric before releasing pressure on both sides of your stapler handle so that it snaps closed again.
Wrap Up
Here you go!! We have come up with an ultimate guide with all possible illustrations you required while Reupholster a Wingback Chair. We hope you find this article useful and you have enjoyed reading it.
Related Posts