
Sometimes, you have to save some important information on the screen by taking a screenshot, but you don’t know the exact procedure.
It’s not a big deal if you know a few tricks to do this. Here are the best ways to save important information by taking a screenshot on the Logitech keyboard.
Logitech Keyboard Print Screen - Simple Methods
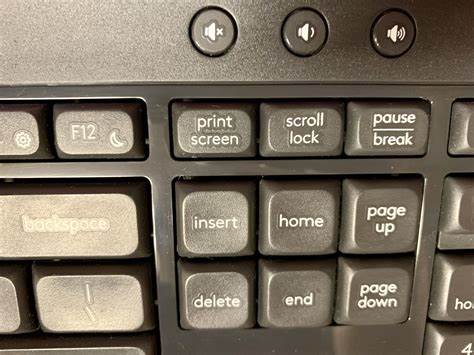
Logitech keyboards come without Print Screen keys on them. It never means that you can't use them to take a screenshot. You can! Here is how to do it in different ways.
1- Through Logitech Software
The simplest and easiest way to save your favorite document in the form of a screenshot is by using the official Software of Logitech. Download the software from their official website and proceed as follows.
- After downloading, proceed to install the Logitech options software.
- Within the software options, you'll encounter a "Devices" tab. Press it.
- From the "Devices," choose your keyboard.
- Croll down to see the "Functions Keys" option within your keyboard options.
- In the "Function Keys" section lies the print screen enabling and disabling tab.
- Enable the "Print Screen Key" within the "Function Keys" tab.
- Once you enable the "Print Screen key," it's easy to take a screenshot.
- Just press Fn + Print Screen buttons from the keyboard.
- It will save the selected page or piece of content on your PC's clipboard.
You may have a Logitech keyboard that doesn't support the software, and you may wonder how to do the same on it. Be calm; there are still two methods. Go for any of them to save some important piece of information on your PC.
2- Through Windows Snipping Tool
You may be familiar with the name but don't know whether it can use for taking a screenshot or not. You can use this Built-in utility tool to save your PC screen. Please proceed as follows.
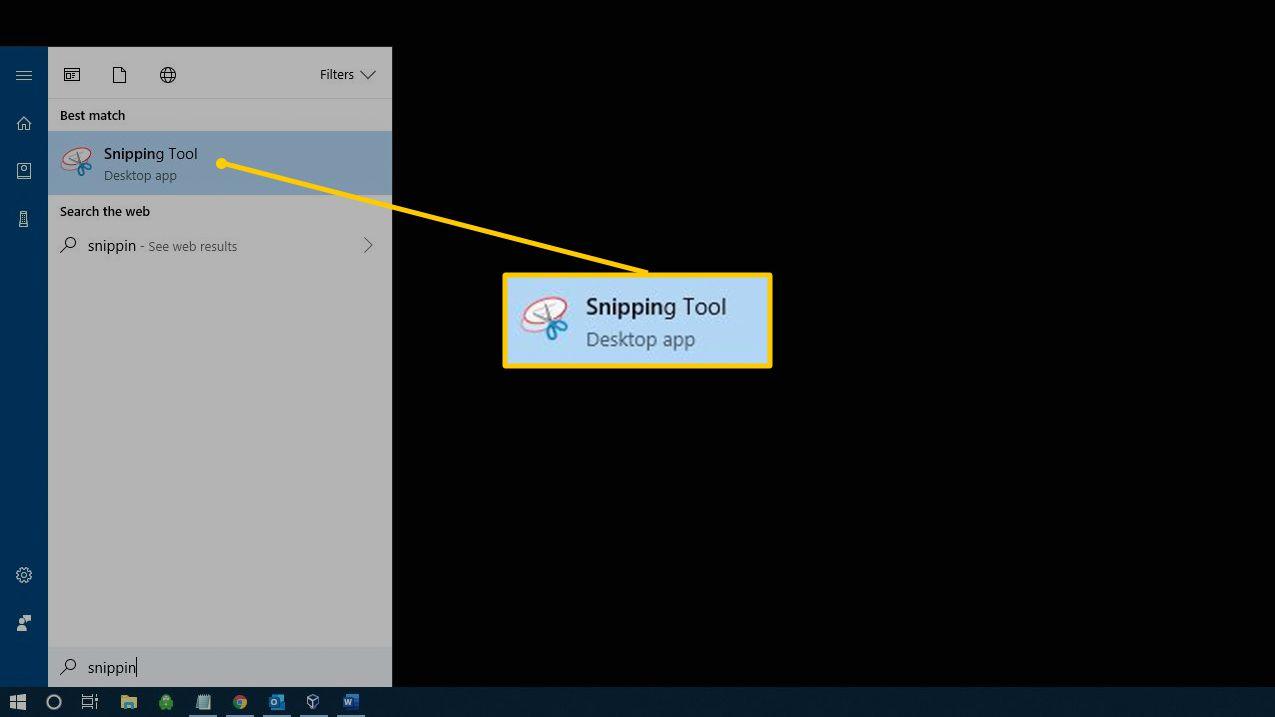
- Go to the "Start Menu" of your PC.
- Browse the "Snipping Tool" by searching through the search bar.
- After getting it, launch the app.
- When launching is completed, you'll see a "New" tab in it; hit this tab. It will start a new screenshot.
- You may customize the type of screenshot you want to save the information on your screen.
- Once you have selected the type of screenshot, the computer screen will dim.
- Now, it's time to 'choose the area' you want to capture.
- 'Right-click the Mouse' and choose the area.
- When the area is finalized, release the Mouse.
- The screenshot will appear in the "Snipping Tool," where you can save or edit it.
- Go for customization of your Print Screen and save it.
This method applies to all kinds of windows and keyboards. So, you will hardly fail to take a screen print by using this method. However, another method is also there, and you can go for that.
3- Through Keyboard Shortcut
Taking a screen print is quite easy using the shortcut keys on your keyboard. Here is how to proceed.
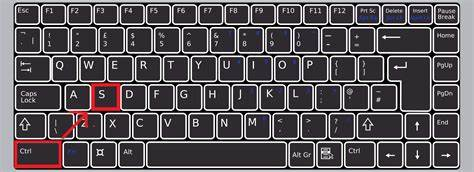
- Press Fn + Shift + F11 keys on your keyboard.
- It will take a screenshot and will save it on your device.
- Move it anywhere within your device where you want to save it.
Most of the Logitech keyboards have all these keys, and you can take a screenshot by using these tabs.
4- Taking a Print Screen on Mac by Using Logitech Keyboard
Are you using the Logitech keyboard for your MacBook? You can use it to take a screenshot over there too. Here is an easy procedure.
- You may know there is no dedicated "Print Screen" on the mac. So, you'll have to choose an alternative.
- Press Fn + Shift + Option + F11 from the keyboard to the print screen.
- It will save the image on the clipboard and move it accordingly.
How to Take Screenshots On Common Keyboards?
Printing screens or taking screenshots is a common thing that almost every person needs for daily use. Different methods can help to print screens, but the sole purpose of all these is to save the screen content. Here are the most commonly used methods to take a screenshot on a regular keyboard.
Using the "Print Screen" Tab
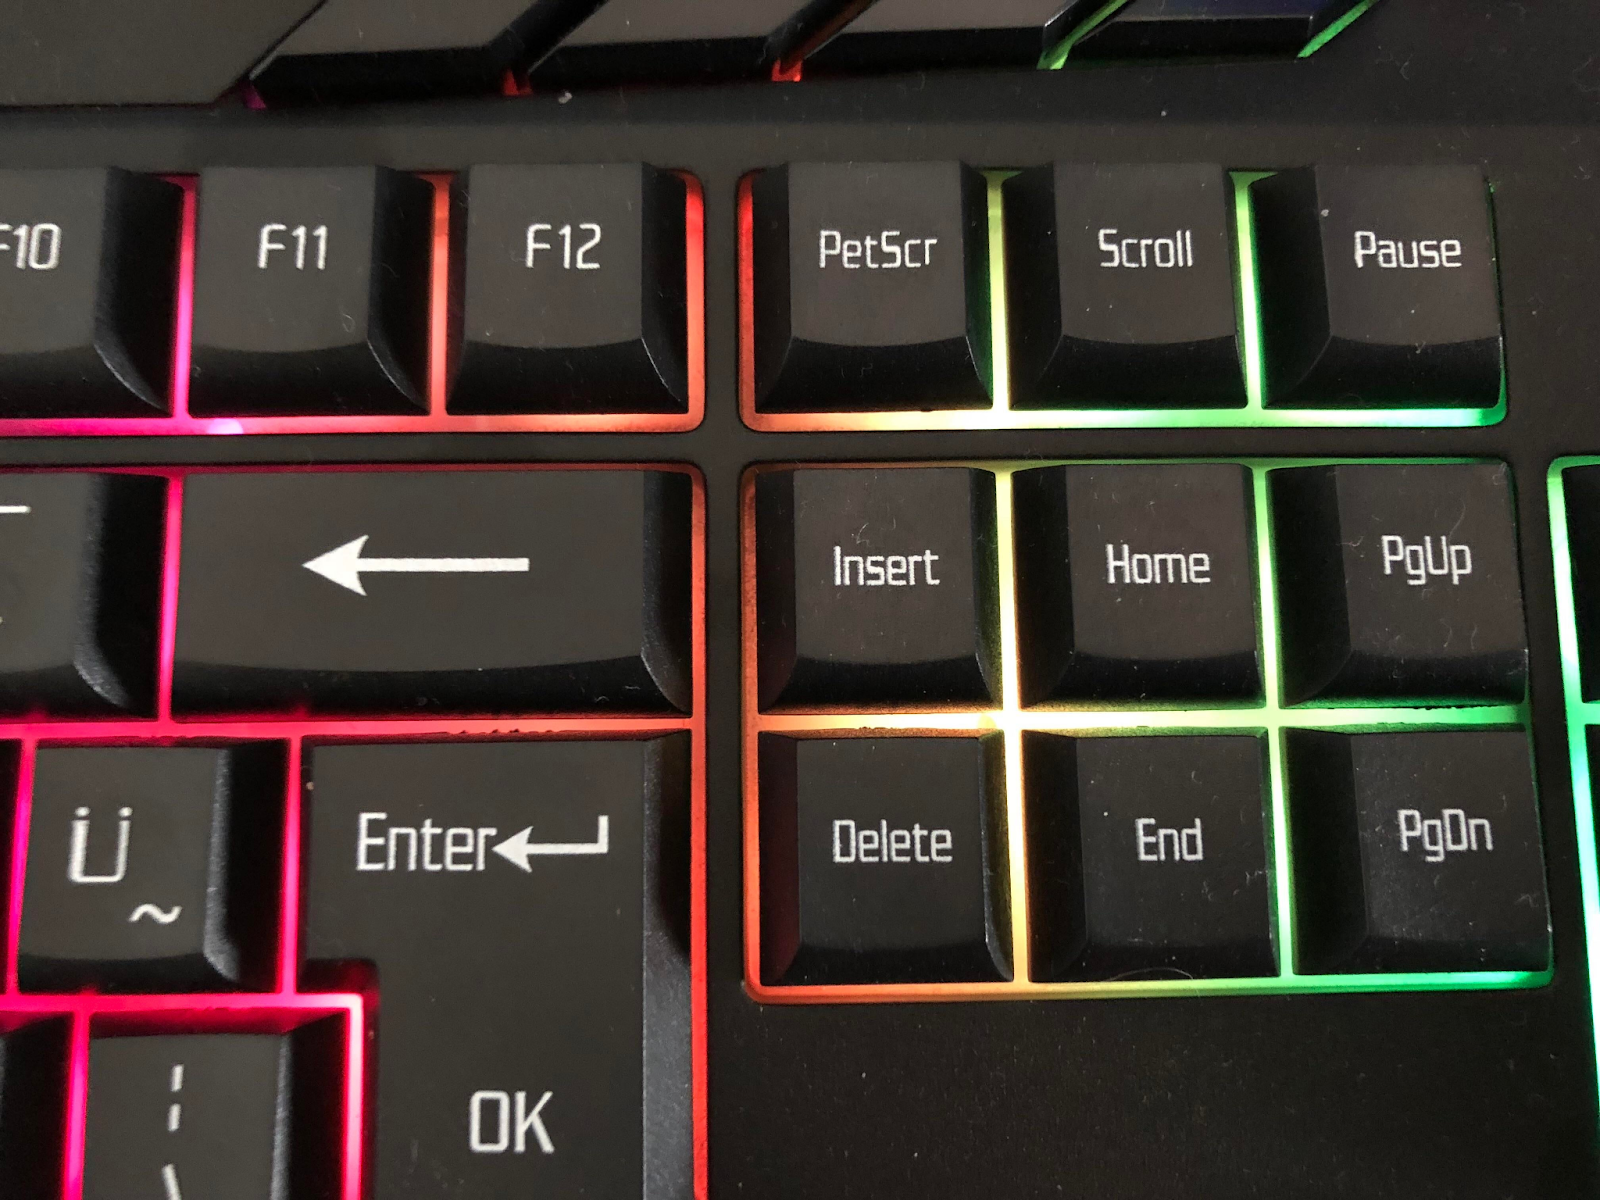
It's the most common and easy way to take the print off the screen. However, all keyboards don't assist it. When you press the "Print Screen" tab, it will save the screen content on the clipboard. Save the image where you want within your PC.
Using the "Alt + Print Screen" Buttons
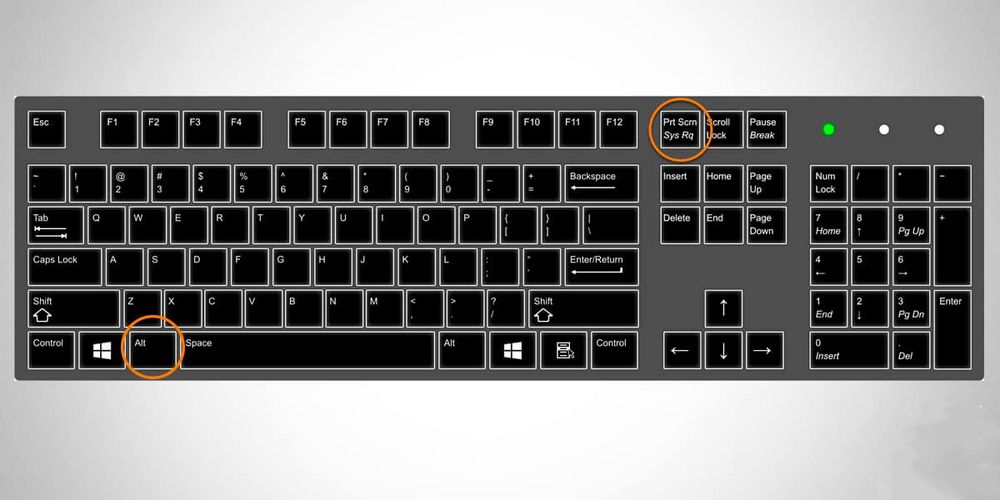
Another way to take the print of the screen is by using the "Alt + Print Screen" shortcut. By this method, you can paste the image anywhere on the PC.
Using "Windows Key + Shift + S."
The shortcut "Windows + Shift + S" will bring you to the Snipping Tool. You can use this tool to take a screenshot.
Using "Windows + Print Screen."
The shortcut "Windows + Print Screen" is also used to take screenshots on most of the regular keyboards.
Things to Understand For Taking a Quick Screenshot
Here are some tips that will help to take a quick screenshot on any system.
For Windows:
- To print the whole screen: Windows Key + Print Screen
- To print just the active screen: Windows Key + Alt + Print Screen
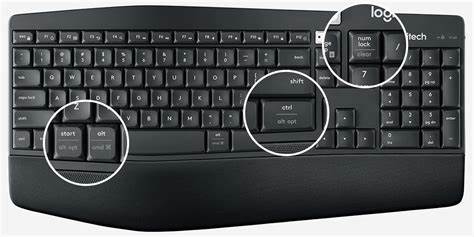
For Logitech Keyboards:
You may know that most of the Logitech keyboards come without Windows Key. Rather, you'll have to use the start key instead of the Windows key.
- Active Screen: Start + Alt + Print Screen
- Whole Screen: Start + Print Screen
For Mac:
Here are three ways to help you take a screenshot on a mac.
- Shift + Command + 4
- Shift + Command + 3
- Shift + Command + 4 + Space-bar
Conclusion
Taking a screenshot through any keyboard is not tricky if you know the exact procedure. It's a need of everyday life, so one should know how to use different keyboards to take the print off the screen. Logitech Keyboard Print Screen is also easy, and you can use any software method, Snipping Tool method, or Shortcut method. Choosing the right method depends on which kind of Logitech keyboard you use. After this configuration, go with any of the methods accordingly.